
Installing and using automatic shower dispensers has become crucial in modern restrooms, especially commercial ones. This is true because the equipment supports and fosters a cleaner, safer environment for everyone who uses the bathroom.
Additionally, this slows down the interchange of germs, which helps to stop the spread of germs and infections within the restroom. Additionally, it provides a regular amount of liquid soap, shampoo or lotion, which aids in minimizing resource waste.

Installing a Shower Soap Dispenser: How to Do It?
Installing a high-quality shower dispenser is a fantastic way to complete your bathroom and is also practical for getting rid of those pesky last slivers of soap. But many of you might wonder how to install it. Well, you won’t need to hire an expert if you follow the given easy steps correctly:
● Choose the Location
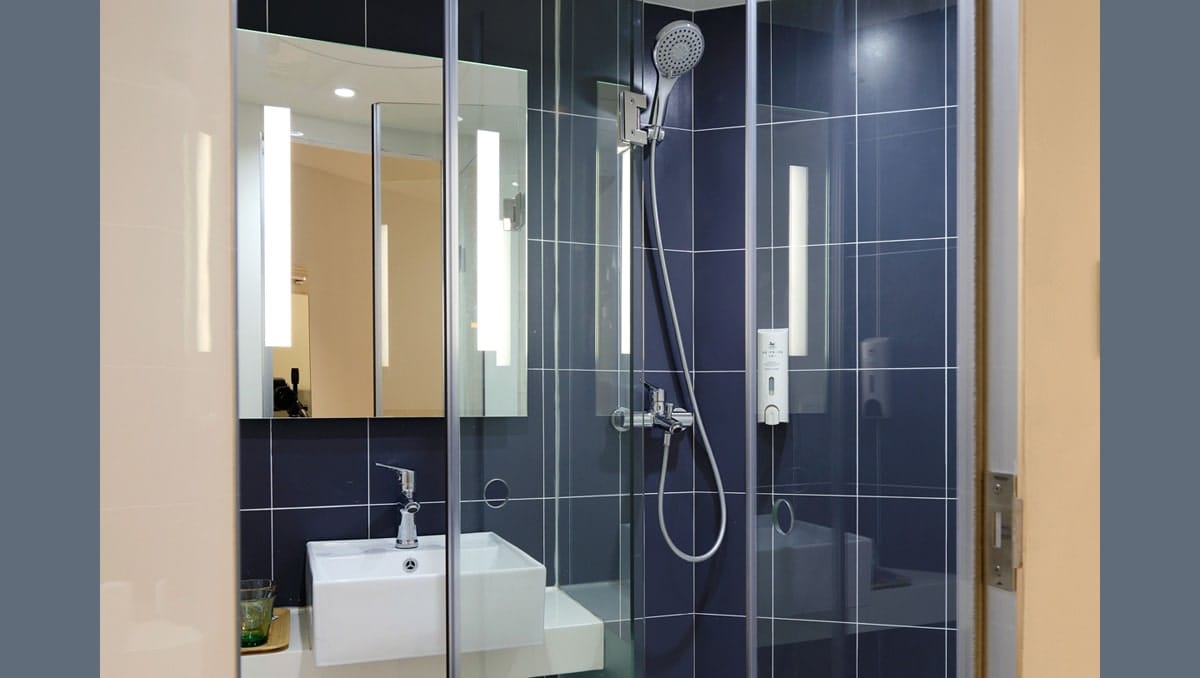
Always remember that it’s crucial to determine the location of the wall-mounted shower dispenser before making a purchase. Please consider everyone who uses it to ensure that kids and individuals with disabilities can readily access it. Consider the additional goods you might keep and whether the new fixture will fit. Please confirm the dispenser is placed in a spot where you wouldn’t be able to restock the dispenser, like directly underneath a windowsill. Before buying a dispenser, assess the spaces to ensure they accommodate the desired spot.
● Draw Marks Carefully
Once you’ve chosen the location for the shower dispenser, start the project by marking where it will hang. To reach the rear of the panel that will be mounted to the wall, disassemble the fixture as directed by the manufacturer. Put the back panel against the wall after using the spirit level to ensure the dispenser is levelled. Mark the locations where screws will attach to the apparatus while the soap, shampoo or lotion dispenser is in place.
● Begin Drilling In the Wall
Make sure the needle you use is the correct size because the wall-mounted dispenser should have the necessary screws. Use masking tape on the drill location to prevent the drill from slipping around the tiles if you are drilling into it. Start this operation at a slow speed and gradually increase it as the bit penetrates the tile to reduce the possibility of tile splits. This procedure is unnecessary when drilling into a brick wall, although you can use raw plugs to hold the screws sturdier.
● Place the Backside of the Dispenser
When installing the screws to secure it, push the rear of the wall-mounted dispenser against the wall. You can either use a screwdriver or a drill machine for this. Moreover, you can use grip filler or masking tape to secure the dispenser’s backside if more sturdiness is needed. Use the pre-drilled holes on the dispenser’s rear, and make sure every screw is tightened. Keep in mind that the screws should be slightly protruding so that the back of the soap dispenser can slip into position.
● Attach the Soap Dispenser
Once you are done attaching the backside, you can slot the remaining components of your soap dispenser onto the exposed screws. Always remember to do all this, keeping the user manual in mind. After putting everything in place, you are ready to use the shower dispenser.

The Bottom Line
The best thing about a shower dispenser is that it suffers from very little wear and tear. Moreover, this equipment is highly durable, which further increases product lifespan. So, always purchase the best shower dispenser from a reliable provider at an affordable price and transform your bathroom!
Other articles from totimes.ca – otttimes.ca – mtltimes.ca


You must be logged in to post a comment.